How to Arrange Your Backyard Furniture for Optimal Outdoor Living
How to Arrange Your
Backyard Furniture for
Optimal Outdoor Living
Most people drag their outdoor furniture outside in April and call it done. But how you arrange it makes an enormous difference — between a backyard that gets used every day and one you admire from the kitchen window. The principles are the same as interior design, but the stakes are lower and the rewards are higher.
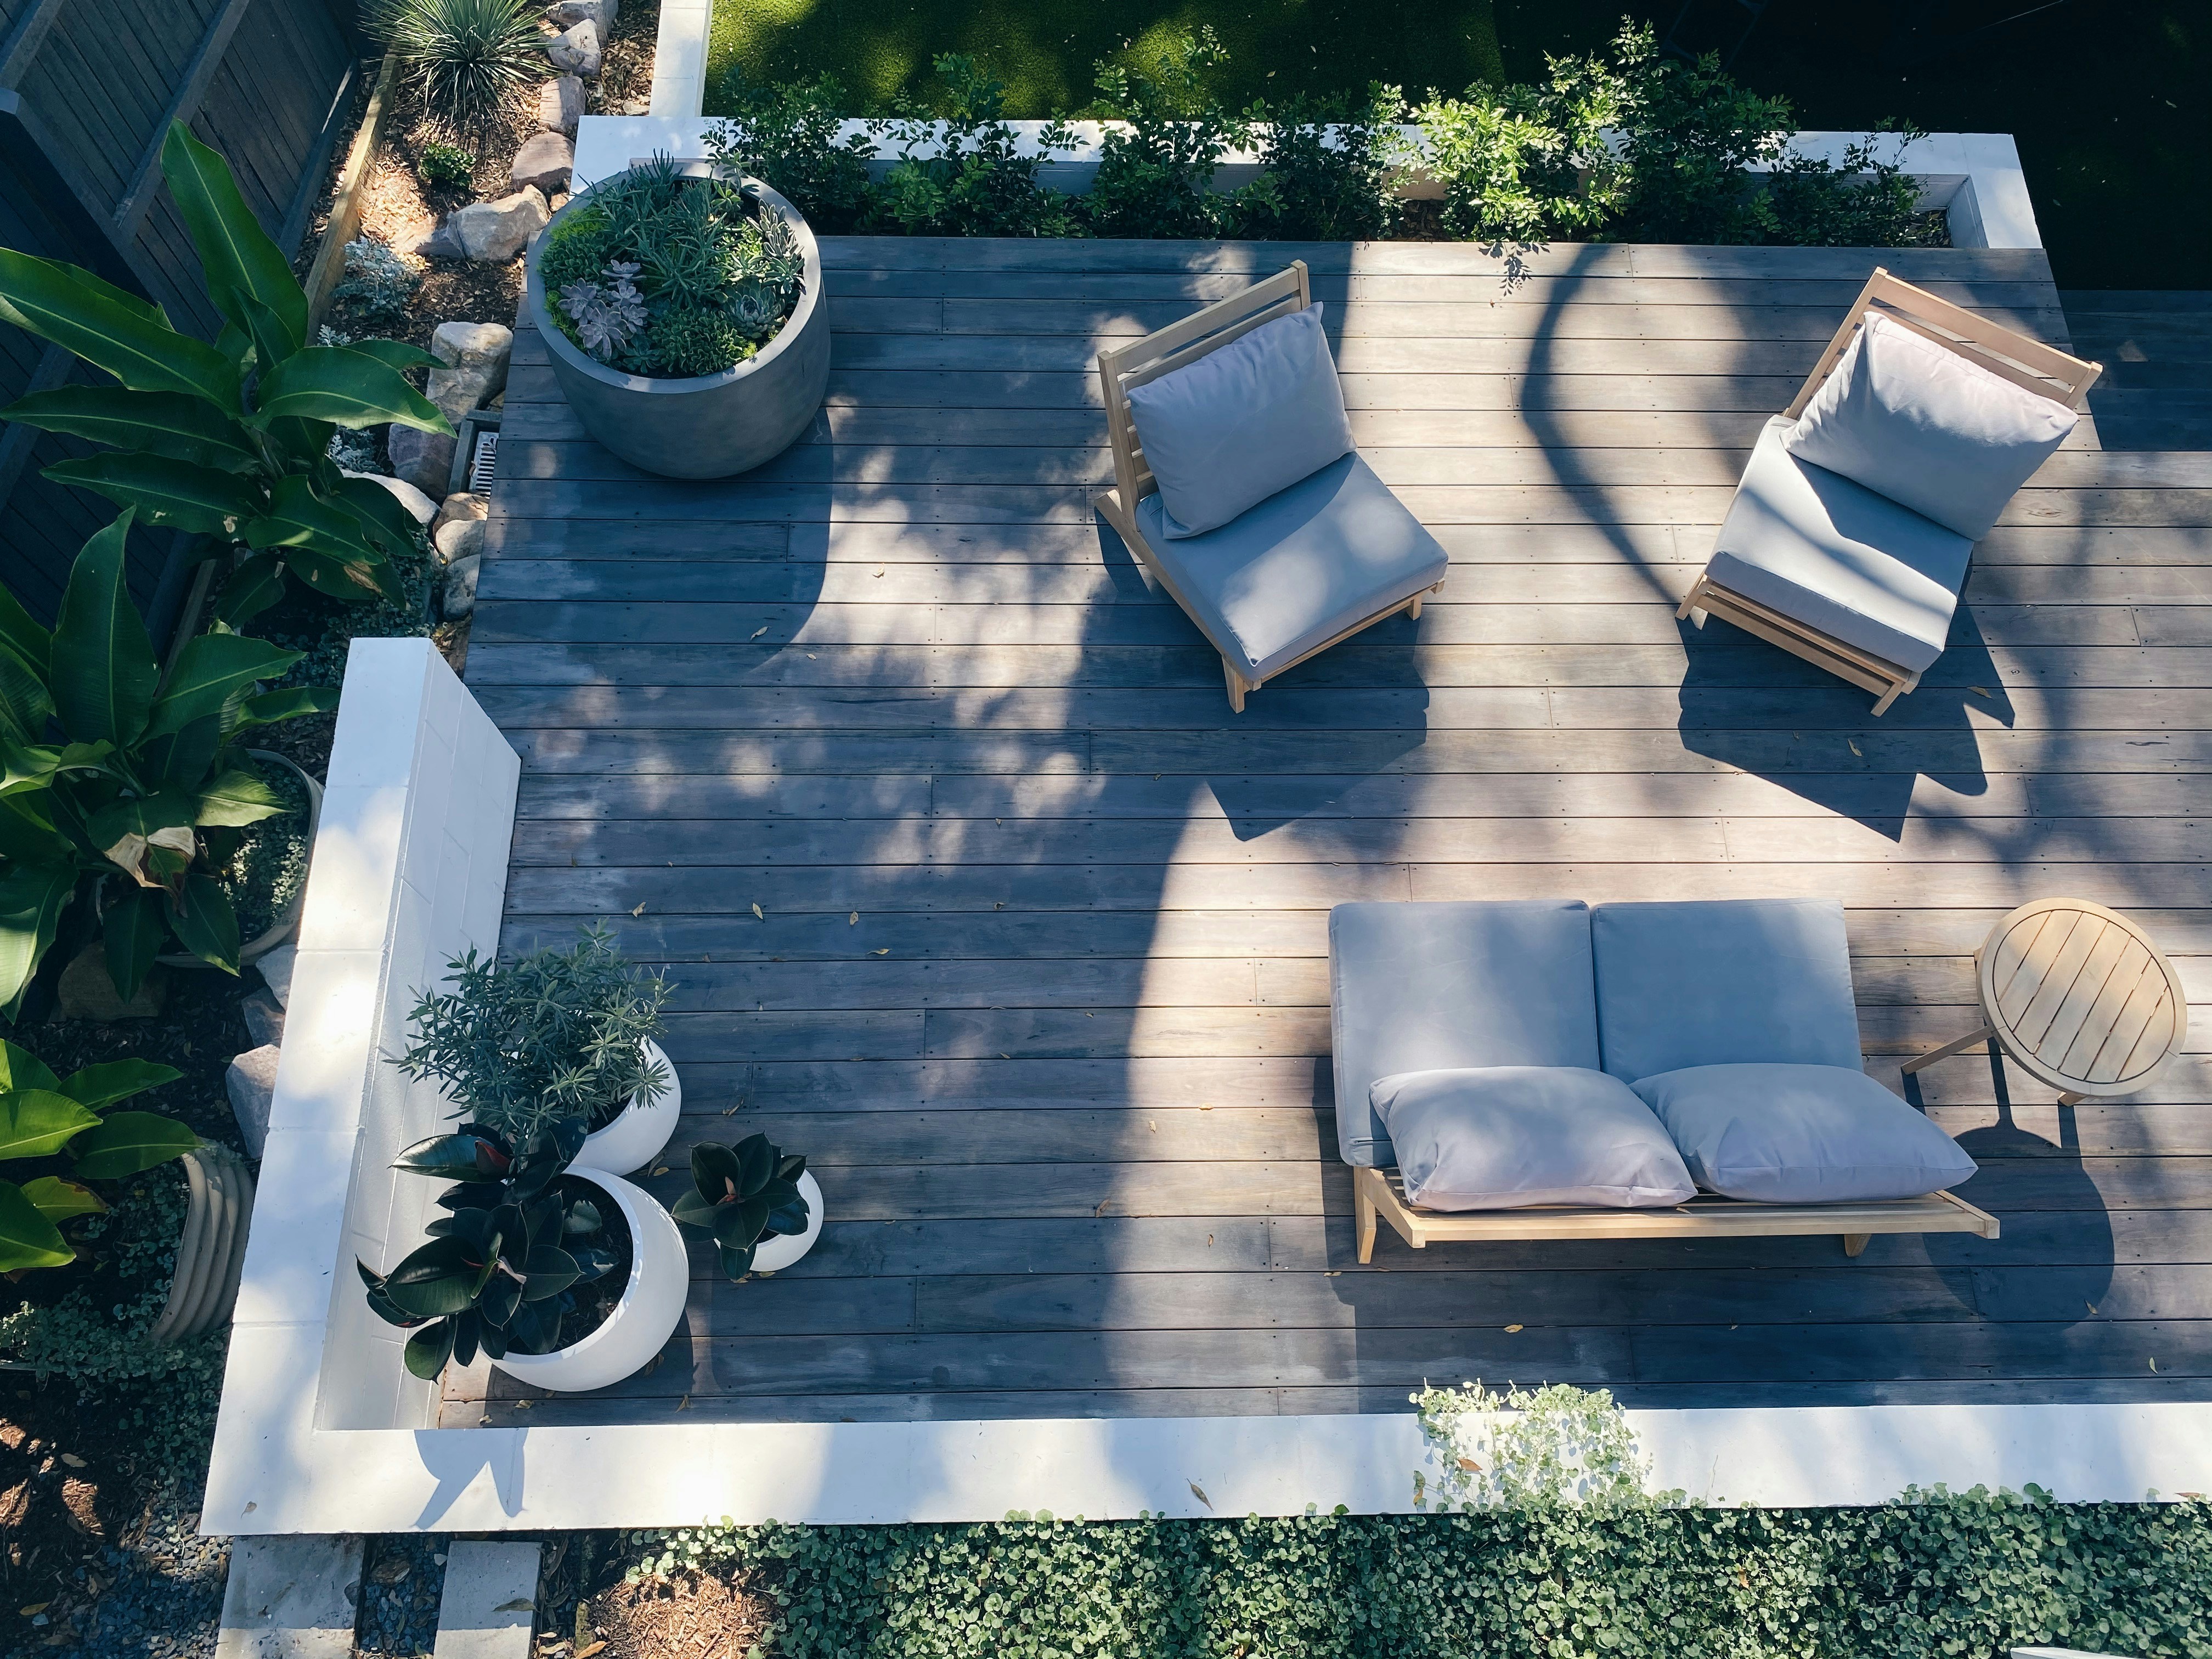
Think in Zones, Not Furniture Pieces
Before you move a single chair, think about your backyard in zones — distinct areas that each have a purpose. Keeping these zones defined, even loosely, transforms a backyard from a dumping ground for furniture into a purposeful outdoor living space.
Most backyards benefit from at least two zones, with larger yards adding a third:
A dining zone — a table and chairs for eating, close to the kitchen door if possible
A lounging zone — a sofa, sectional, or cluster of chairs for conversation and relaxation
A quiet corner, fire pit gathering area, or bar cart and entertaining station for larger yards
Anchor Every Seating
Area with a Rug
The single most transformative thing you can do for an outdoor seating area is put a rug under it. An outdoor rug visually defines the space and signals “this is a room” — it makes bare concrete patios feel warmer, keeps furniture legs from scratching hard surfaces, and grounds a floating arrangement of chairs.
Sizing rule- All four legs of every chair should sit on the rug when pulled out from the table
- For a lounging area: large enough for the sofa, coffee table, and front legs of side chairs
- When in doubt, go one size larger than you think you need
Outdoor rugs made from polypropylene are fade-resistant, easy to clean (just hose them off), and hold up beautifully through multiple seasons.
Face Seating Toward
the View (or Each Other)
In interiors, we’re taught to face the TV. Outdoors, your focal point choices are far more interesting. Avoid the common mistake of pushing all furniture against the walls or fence line — floating furniture toward the center of a patio feels more intentional and more inviting.
Focal point options- A garden view — arrange seating to look into planting beds, a water feature, or a beautiful tree
- Each other — for conversation-first arrangements, face chairs inward toward the center of the group
- A fire pit or fire bowl — create a semicircle or full circle so everyone has a front-row seat
Close to the Kitchen
Dining outside is one of life’s great pleasures — until you’re running back and forth to the kitchen carrying dishes past two rows of lounge chairs. Place your outdoor dining table as close to your back door as the space allows.
Choosing the right table- Round tables are better for conversation and fit more people into a smaller footprint
- Rectangular tables work for larger gatherings and more food/serving dishes
- Counter-height tables give a casual bar feel many people prefer for entertaining
Add a bar cart nearby so drinks can be self-serve without constant trips inside.
Every Lounging Zone Needs
Surfaces
A sofa or cluster of lounge chairs without a surface to set things on gets frustrating fast. Every lounging arrangement should include a coffee table or large ottoman in the center — ideally one that can double as extra seating — and side tables beside any chair or at the end of a sofa.
For outdoor use, look for teak, powder-coated aluminum, or concrete/ceramic. A lidded outdoor storage ottoman pulls triple duty: seating, surface, and hidden cushion storage all in one.
Light It
After Dark
A well-arranged outdoor space that goes dark at sunset is a missed opportunity for the best hours of the day. Outdoor lighting transforms your backyard from a daytime amenity to an evening destination.
The layered approach- String lights overhead — drape from pergola, fence posts, or freestanding poles for the warmest, most flattering glow
- Lanterns on the table and side surfaces for intimate task lighting
- Path lighting or low-voltage stake lights to define the edge of the space
Solar string lights have improved enormously — today’s versions are bright, last 8–10 hours, and require zero wiring. Look for Edison-style bulbs for the warmest glow.
Changes Everything
The difference between a backyard that gets used and one that doesn’t often comes down to one or two unexpected comforts that make staying outside feel effortless.
Some of my favorites- An outdoor throw blanket basket — a lidded basket filled with quick-dry throws so evenings are always cozy
- An outdoor rug pad — makes the rug softer underfoot and keeps it from shifting
- A small side table with a built-in planter — function and beauty at once
- Clip-on umbrella lights — instant ambiance if your umbrella doesn’t have lights built in
A Simple Formula for
a Mid-Size Patio
- Lay the rug first — it sets the stage for everything
- Place the sofa or main seating on the rug, facing the best view
- Add two accent chairs across from or angled toward the sofa
- Center the coffee table within reach of all seats
- Place side tables at each arm end
- Add the dining table off to one side near the kitchen entrance
- String lights overhead across the full zone
- Add lanterns, plants, and throws last
Think of it as decorating a room — because that is exactly what you’re doing.


Which zone in your backyard do you wish you used more? Tell me in the comments — and what’s stopping you from using it!